

In this article we’re going to be looking at refrigeration design software. This article is aimed at HVACR engineers as well as any mechanical engineering students. We’ll look at how to use it with examples for thermostatic expansion valves, compressors and cold rooms.
Scroll to the bottom to watch the YouTube tutorial video
We’re going to be taking a look at a very useful, and free, refrigeration design software, which I’m going to recommend to you, called Coolselector®2 by Danfoss who have kindly sponsored this article. You can download this for free from the Danfoss website. Just click the link below.
🎁 Download Coolselector®2 for free here ➡️ Click here
I can also recommend that you check out the in-depth video training series for this software which Danfoss created on their channel called Coolselector StartUp School. You might even recognise the voice on the training videos because it’s mine. Click here for that.
When we open this software we will instantly see a huge range of refrigeration components to choose from in the valves and line components tab.
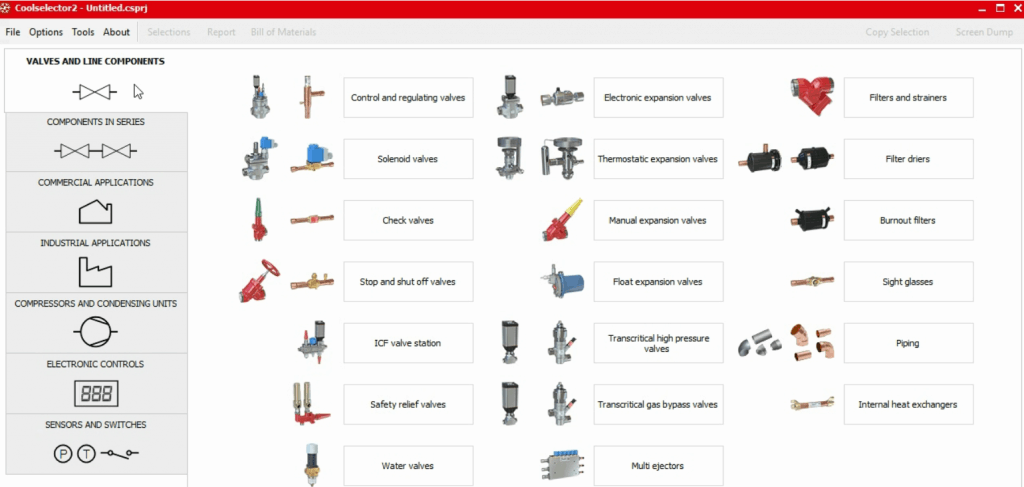
Then on the left hand side we have a number of other tabs which, if we scroll through, give us options for different types of refrigeration systems, we have a cold room calculator, evaporator station design, compressors, condensers, controls and even sensors and switches. The engineers over at Danfoss are constantly adding new features too.
Now lets look at some quick examples for how useful this software is, and why I’m recommending it and showing you it.
Thermostatic Expansion Valve Example
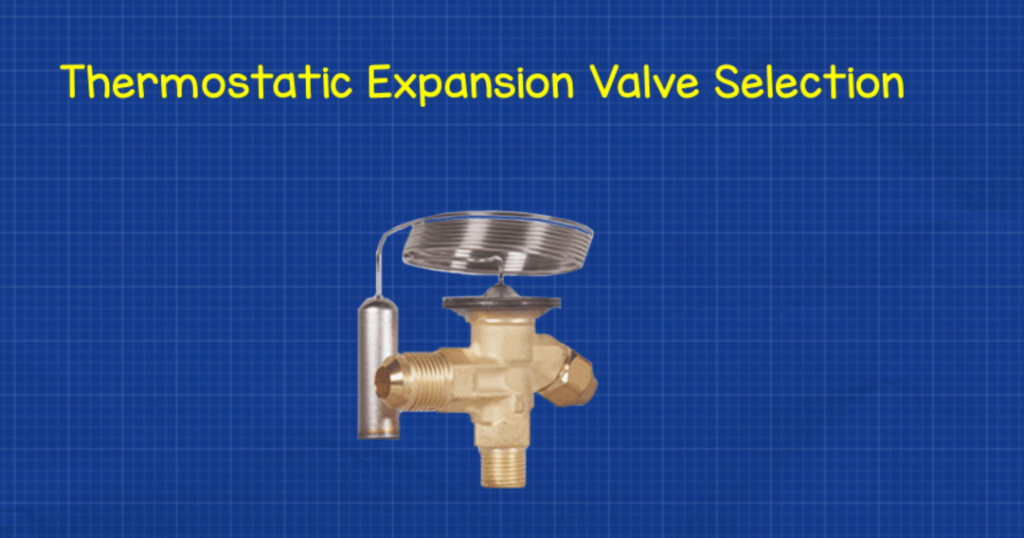
Lets say we want to select a thermostatic expansion valve for our system. From the valves and line component tab we select the valve from the components options. We get a little schematic of the system and under that we can select our refrigerant (example R448A) and then on the right we input our operating conditions. Lets just say 2.5 kW capacity and I’ll leave the other inputs as default as this is a quick run through.
By the way, you can just change the units being displayed simply by clicking on options and then units and selecting whichever one you need.
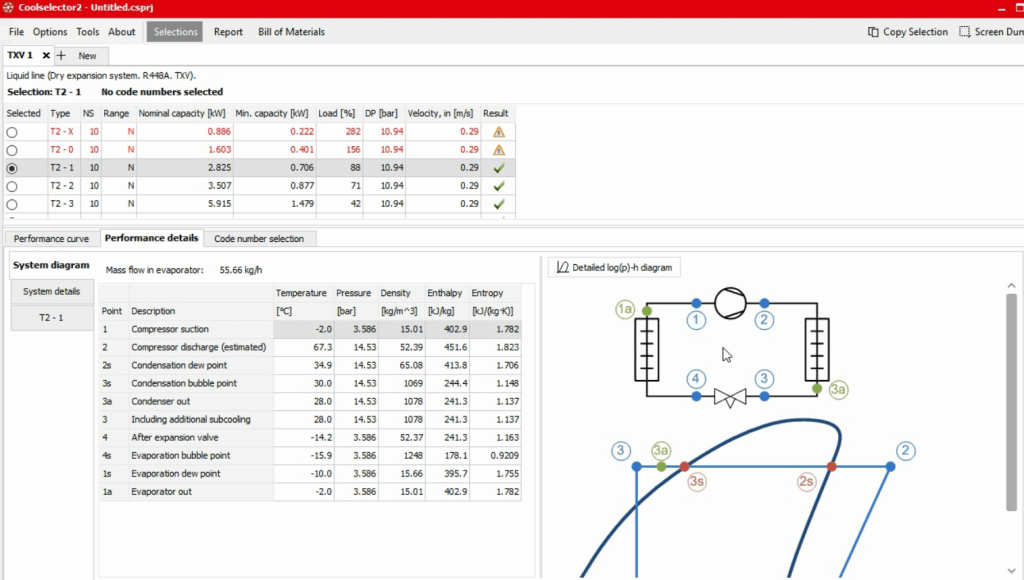
Then we can select the product range on the lower left corner. I’ll select a model T2 for this example and as I do the screen refreshes, and the software will automatically make a product recommendation. We can see how it will perform with the different tables and charts. If we go down to the performance details tab, the software will give us all the calculated pressure, temperature, enthalpy and entropy values for the system.
Once we’ve decided on a product we can just click on the report button at the top and it’ll generate us a full project report with all the details we need, we can just print, save as a pdf or export this. Super easy to use.
As I mentioned there are a series of detailed videos for how to use this software for all kinds of scenarios, I personally made the training videos and they’re hosted on the Danfoss YouTube channel. Link for that here
If you want to learn how thermostatic expansion valves work, you can see our FREE COURSE here
Cold Room Calculator Example
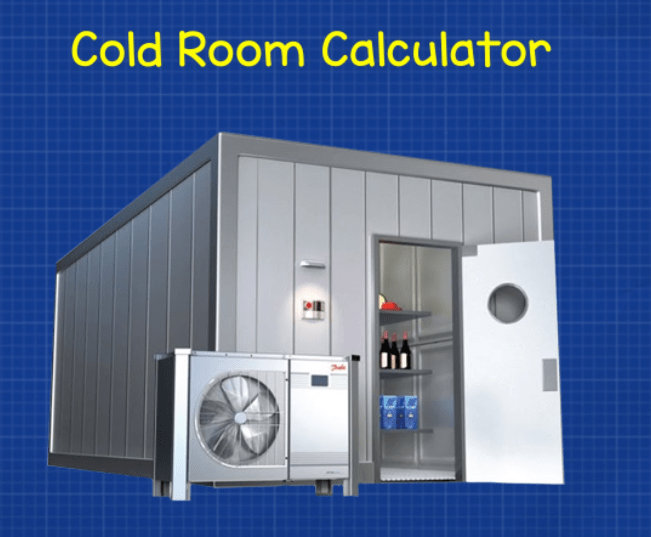
Lets have a look at a cold room. We click on commercial applications and then on cold rooms. We can then manually enter the details or we can use the wizard. I’m going to use the wizard because it’ll do the work for me.
We input our cold room dimensions and conditions. I’m going to leave these as default for this example. (If you want to watch a detailed tutorial on Cold Room design then click here.) We then tell it what we’re storing in the cold room, loads of options for that. It then needs to know the temperature and mass of the products we’re introducing. Then we tell it our room conditions and operating hours as well as what type of insulation we’re using.
It’ll then load this into a graphical screen where we can review our inputs and add additional data like air infiltration, additional heat loads and defrost info.
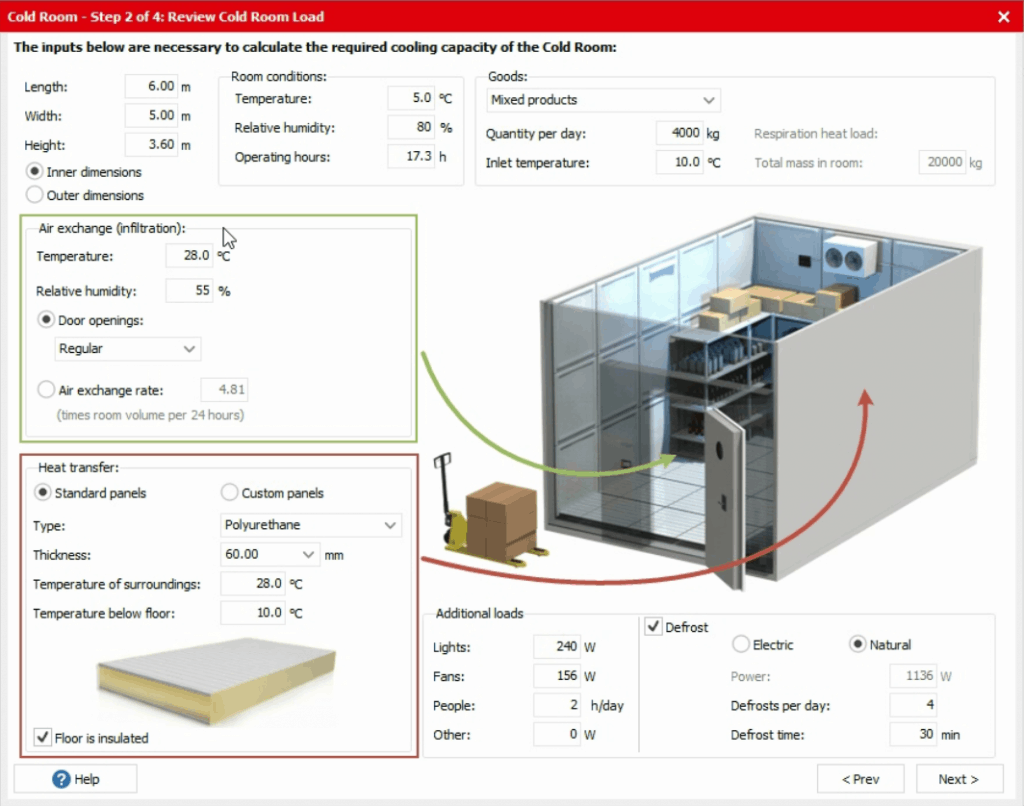
We click next and we choose the install location, then the product range and also the refrigerant.
It’ll then show us our cooling load details from each source and the total cooling capacity required. By the way we can export these details by right clicking on the table and clicking export to excel.
Once we’re happy with the details we can click on next and it’ll load a table showing all the recommended products we need for this system. Danfoss doesn’t provide evaporators current but they will give you all the information you need to provide to your supplier to get one.
Of course we can again get a full report for our project using the report button at the top and we can get a bill of materials using the bill of materials button which we can then provide to our Danfoss supplier for a quotation.
Compressor Selection Example
Ok, lets quickly see how we go about selecting a compressor for our refrigeration system.
So we click on the compressors and condensing units tab and then we select compressors. The screen loads and there’s a lot of information, but, we start on the left and we first choose which application we require. We’ll just go with a medium temperature application for a food preservation unit so I’ll uncheck the others. We then choose our refrigerant, I’ll go with R404A and I’ll choose 3 phase 415V electrical supply to power the compressor. Then for this example I’ll just go with a fixed speed reciprocating compressor.
Now we input our operating conditions. It’s really important so spend some time here, but I’m going to quickly show you an example using some example inputs. See video below for details.
Now the software has automatically made a recommendation to us for which product to choose. Down in the performance details tab we can find a gold mine of information to understand how it will perform and check if it’s applicable to our system. These charts can quickly be converted into tables just by clicking the radio button above the chart. We can then export this data by right clicking on it and selecting export data.
Again we can see the calculated pressure, temperature, enthalpy and entropy values in the performance details tab, we get a schematic and also our pressure enthalpy chart too. We can wrap all this info in a professional looking report by clicking on the report button at the top.
Software tips
What else can we do with this. We can make the application quicker for us to use. We can do that by going to options and then preferences and then selecting which industry we’re working in. Say I click on industrial then it’ll hide all the products and features which aren’t of use to me. We can also create a custom preference from edit preferences and we can select or unselect things like connection types and fittings, systems etc.
We can add our name to the defaults so it’ll appear in the reports and bill of materials automatically we do that in options, users language and country.
We can very quickly see which products are suited or approved for different types of refrigerants. We can do that by clicking on tools and then products and refrigerants overview. The popup will then give us a colour coded chart for each. Down in the bottom we also have the option to export this information.
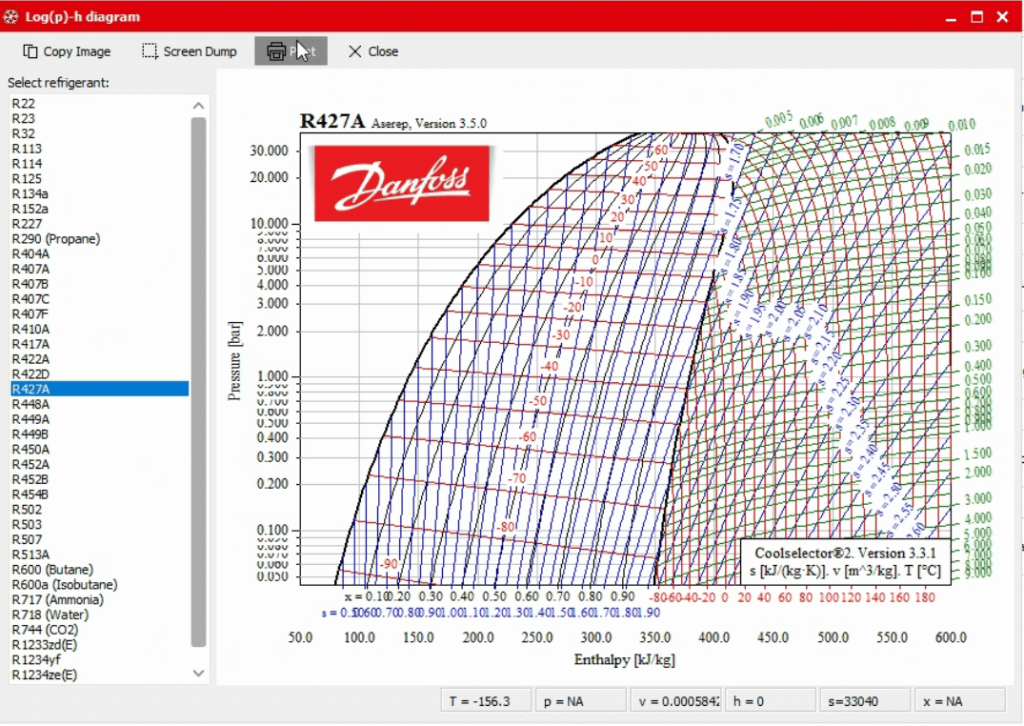
We can see the different refrigerant charts by clicking on tools and then clicking the log pressure enthalpy diagrams. The popup then lets us choose which refrigerant we want to check out. We can export these charts using the buttons at the top.


")


Excellent tutorial. Thank you !
Hello
I’m looking for the software that drive a refrigerator,
The firmware that loaded in to the micro controller,
Can you help?